Frozen Flower Tutorial

Do you have the winter blues and need a fun project to try?
I saw a really neat idea the other day and thought I would try it out myself. Frozen flowers! With snow in my forecast I decided it was the perfect time to play!
There are tons of tutorials on-line for different ways people approach how to do it. I thought I would share a few tips with you as well.
First I tried tap water. Tap water works ok but it’s not as clear as using distilled water. Tap water can be cloudy and leave you with a lot of bubbles.
Tap Water - Not so good.
So, you will need distilled water, a couple of dishes or large ice cube trays and some flowers. First you will likely want to anchor your flowers by starting with just a tiny amount of water to freeze your flower. Otherwise it will float and you risk thicker ice on top. (Put your flower or flowers in the dish upside down as you begin).

Anchor your flower with just a tiny bit of water.
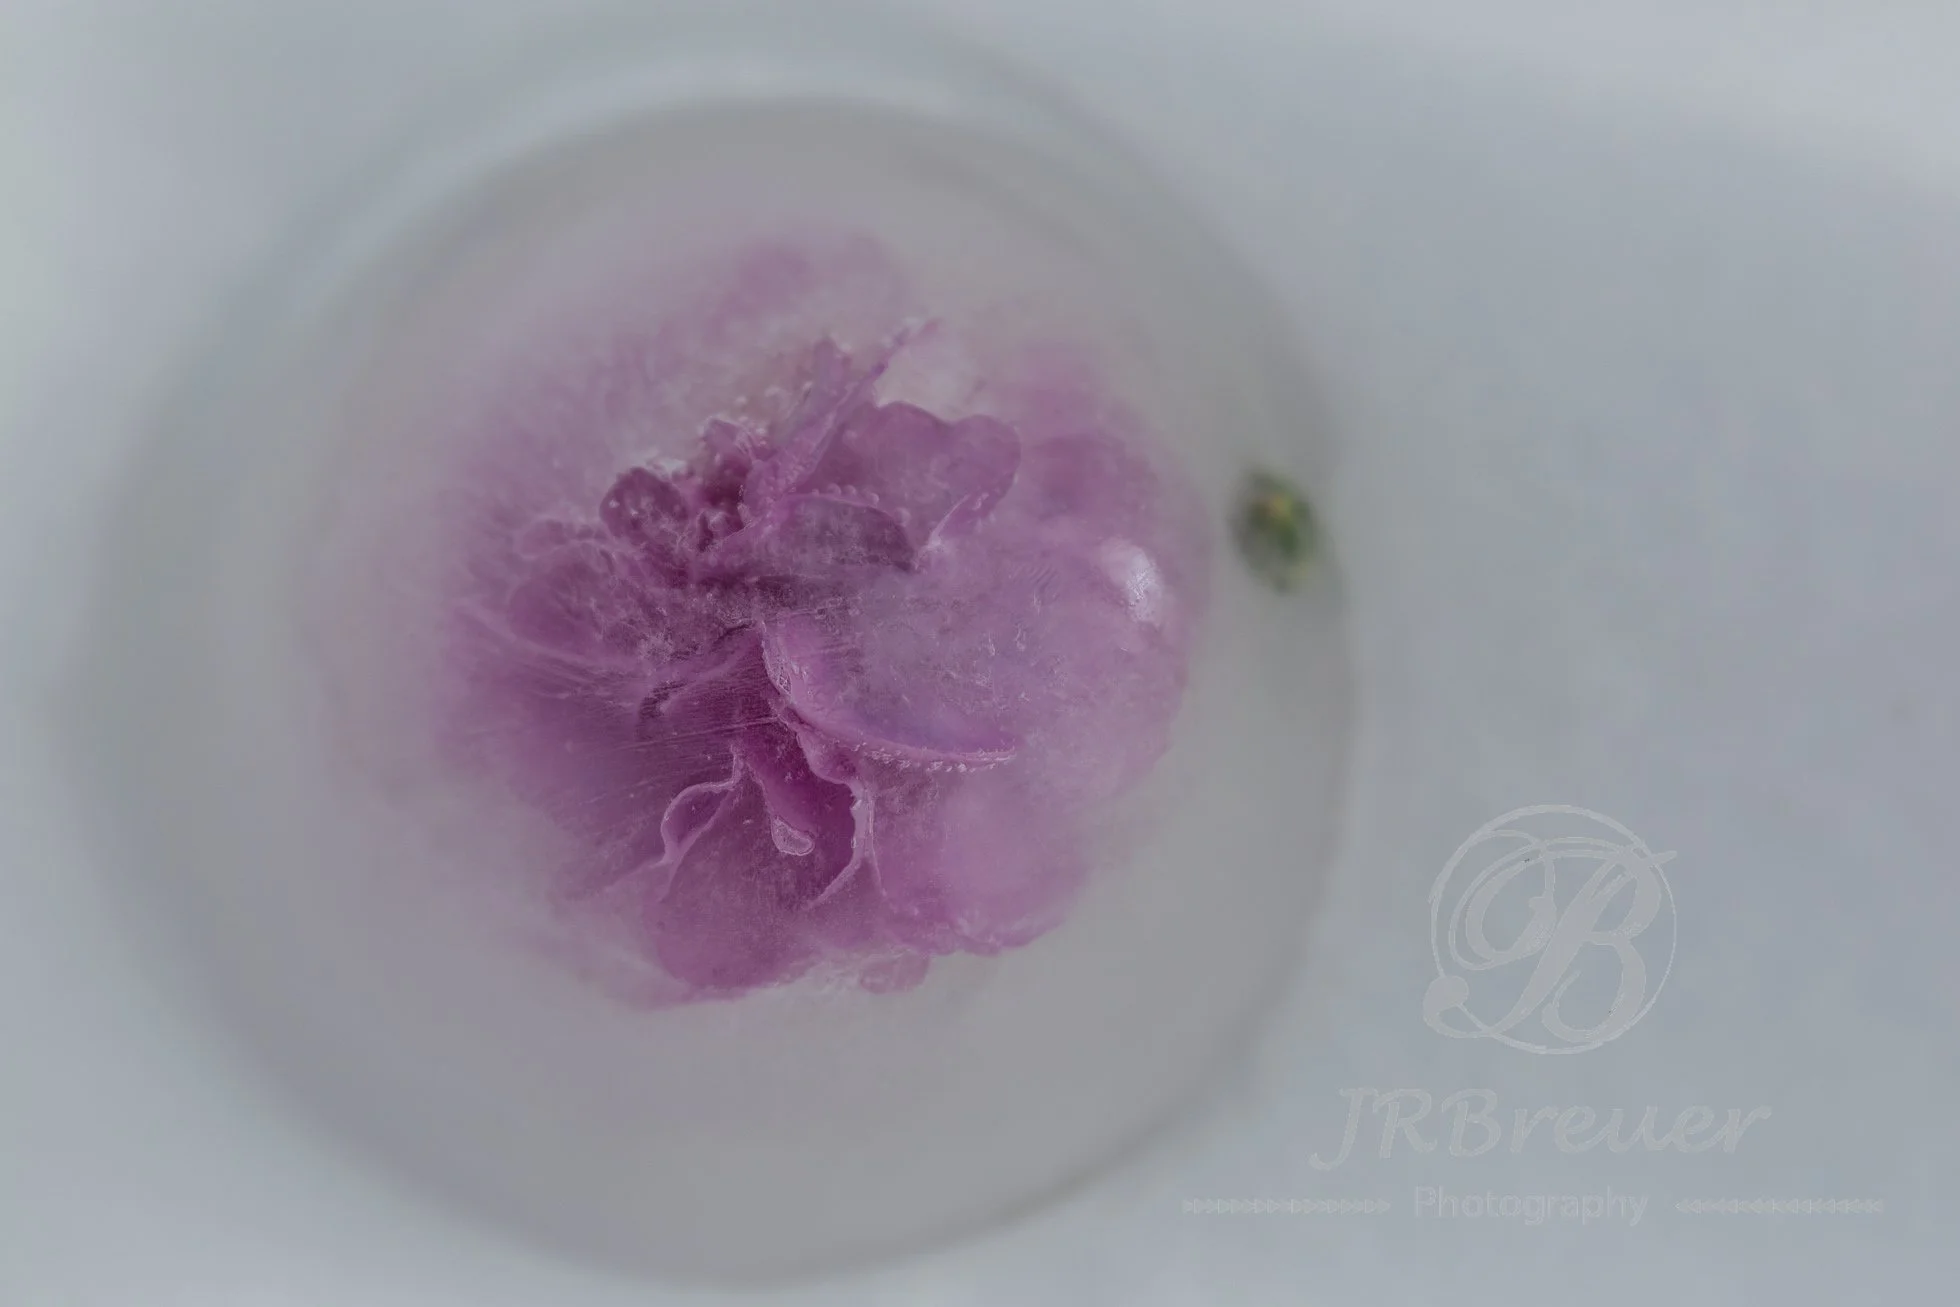
Some people like to slowly layer the water by adding a tiny amount and freezing over and over until you’re done. That way you won’t risk un-freezing your anchor and therefore have floating flowers. I tried that and ended up with several layers of cool bubbles. The bubbles are caused by oxygen escaping the flower. The bubbles are really cool looking but be aware that your flower won’t be as visible.

Layers of oxygen bubbles
Less layers mean the ice will be much clearer!

Less Layers.
So decide if you want more or less layers and fill and then freeze until you’re to the top of your container.

Full and ready for final freeze.
Once you have nice solid ice, it will take a few hours, you’ll be ready to pop them out. I run a little warm water over the outside of the upside down container and then let it warm up a bit. You could always just let it slowly warm up while sitting upside down. Soon it will be loose enough to pop right out.

That’s the exciting part! Getting to see your beautiful frozen flower (or flowers) and what it looks like! Each one is unique and beautiful!
If you are not ready to photograph them yet, you can totally freeze them again until you are.
To photograph them, first I tried just laying them out flat in fresh fallen snow. But that of course just looked… well… flat.

Too flat
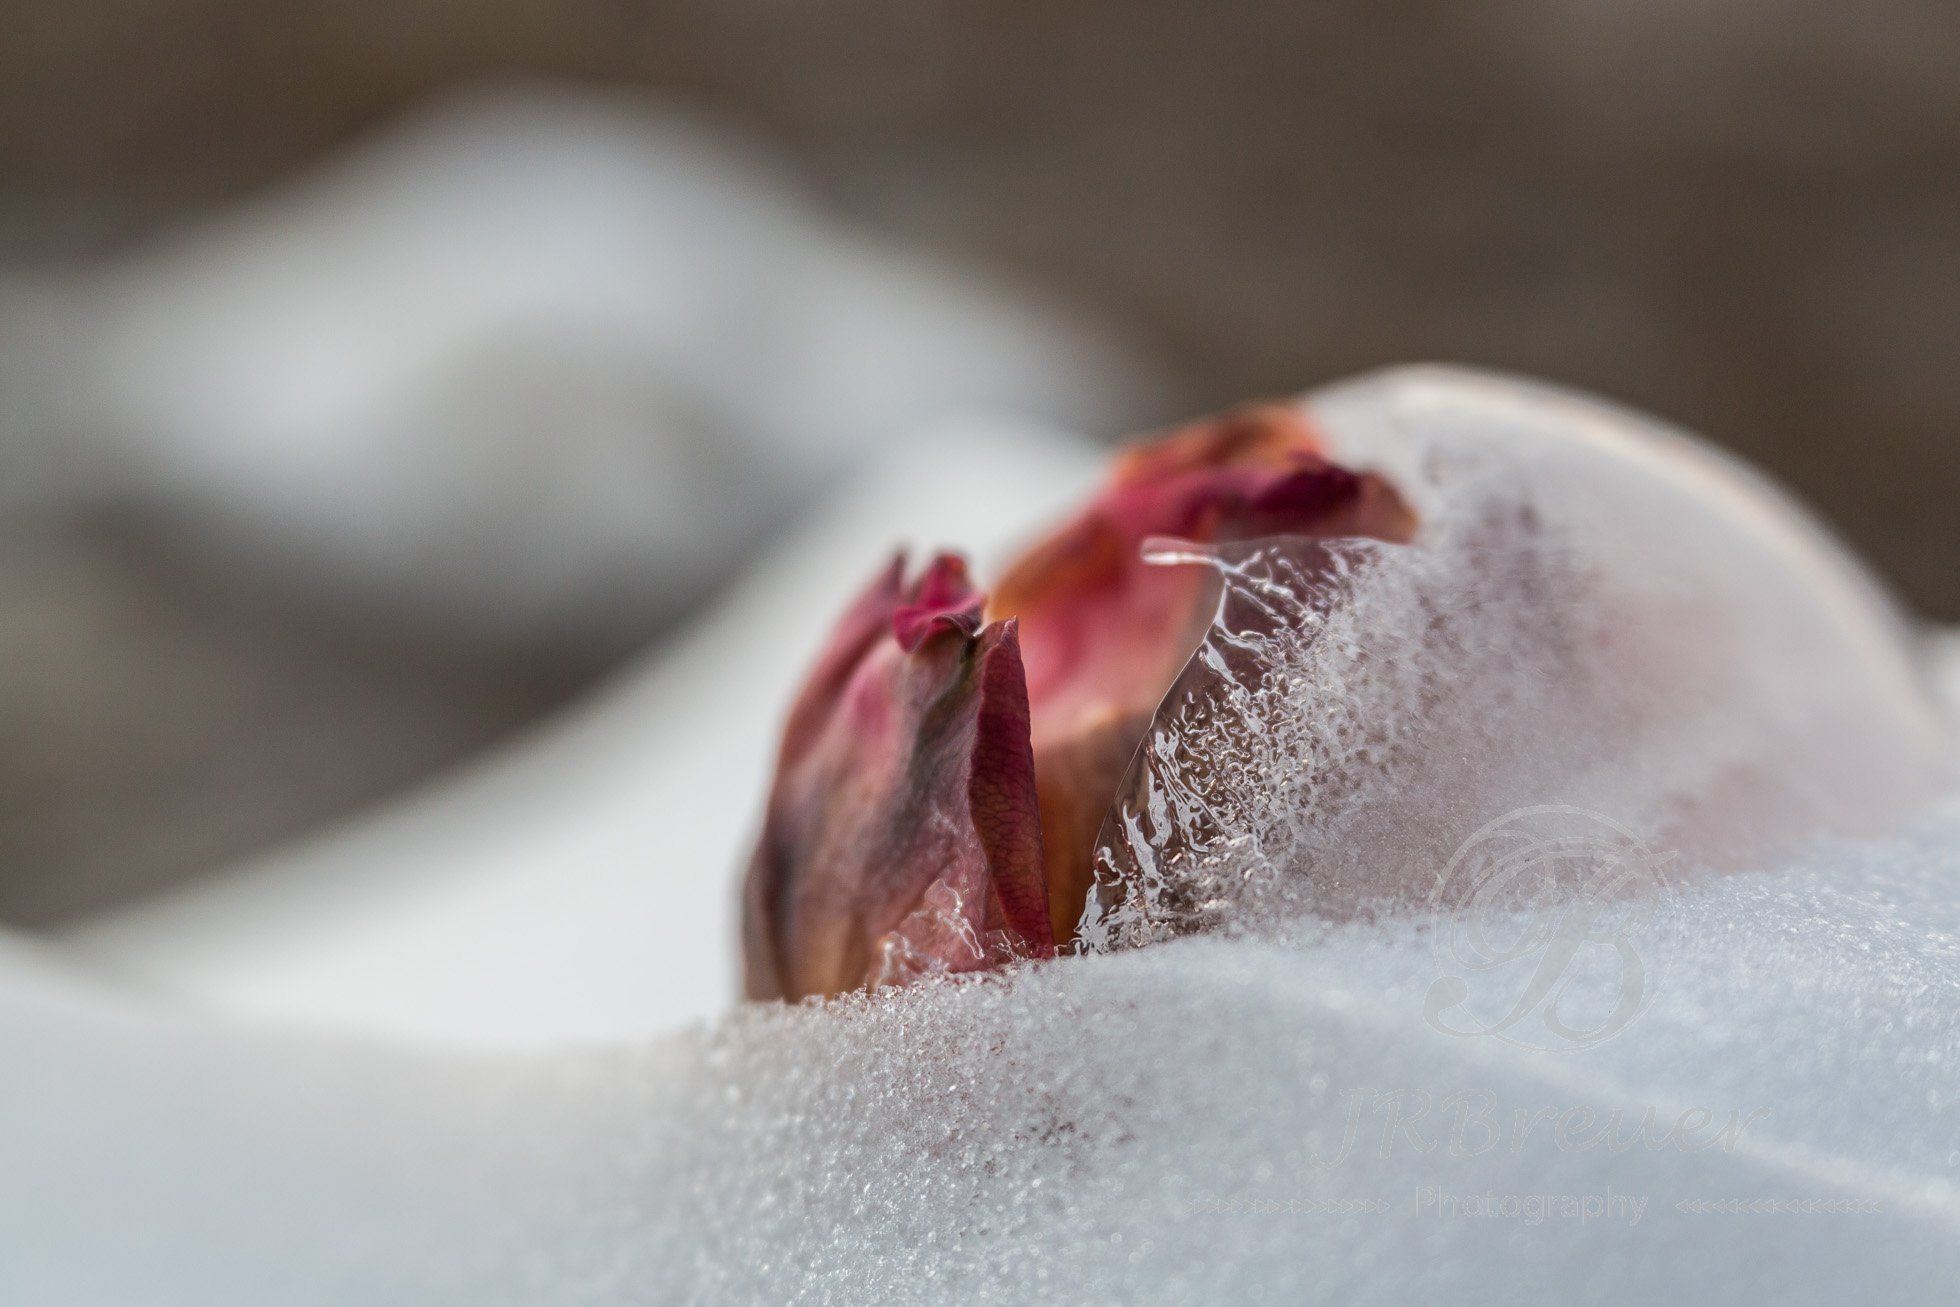
Next I tried a snowbank with a little more interest to it.

Better!
If it’s really cold outside, you can bring a pan of snow inside to play with. I tried setting up by a window which worked ok, but I prefer outside. I was having trouble with lighting and window reflections on the ice.

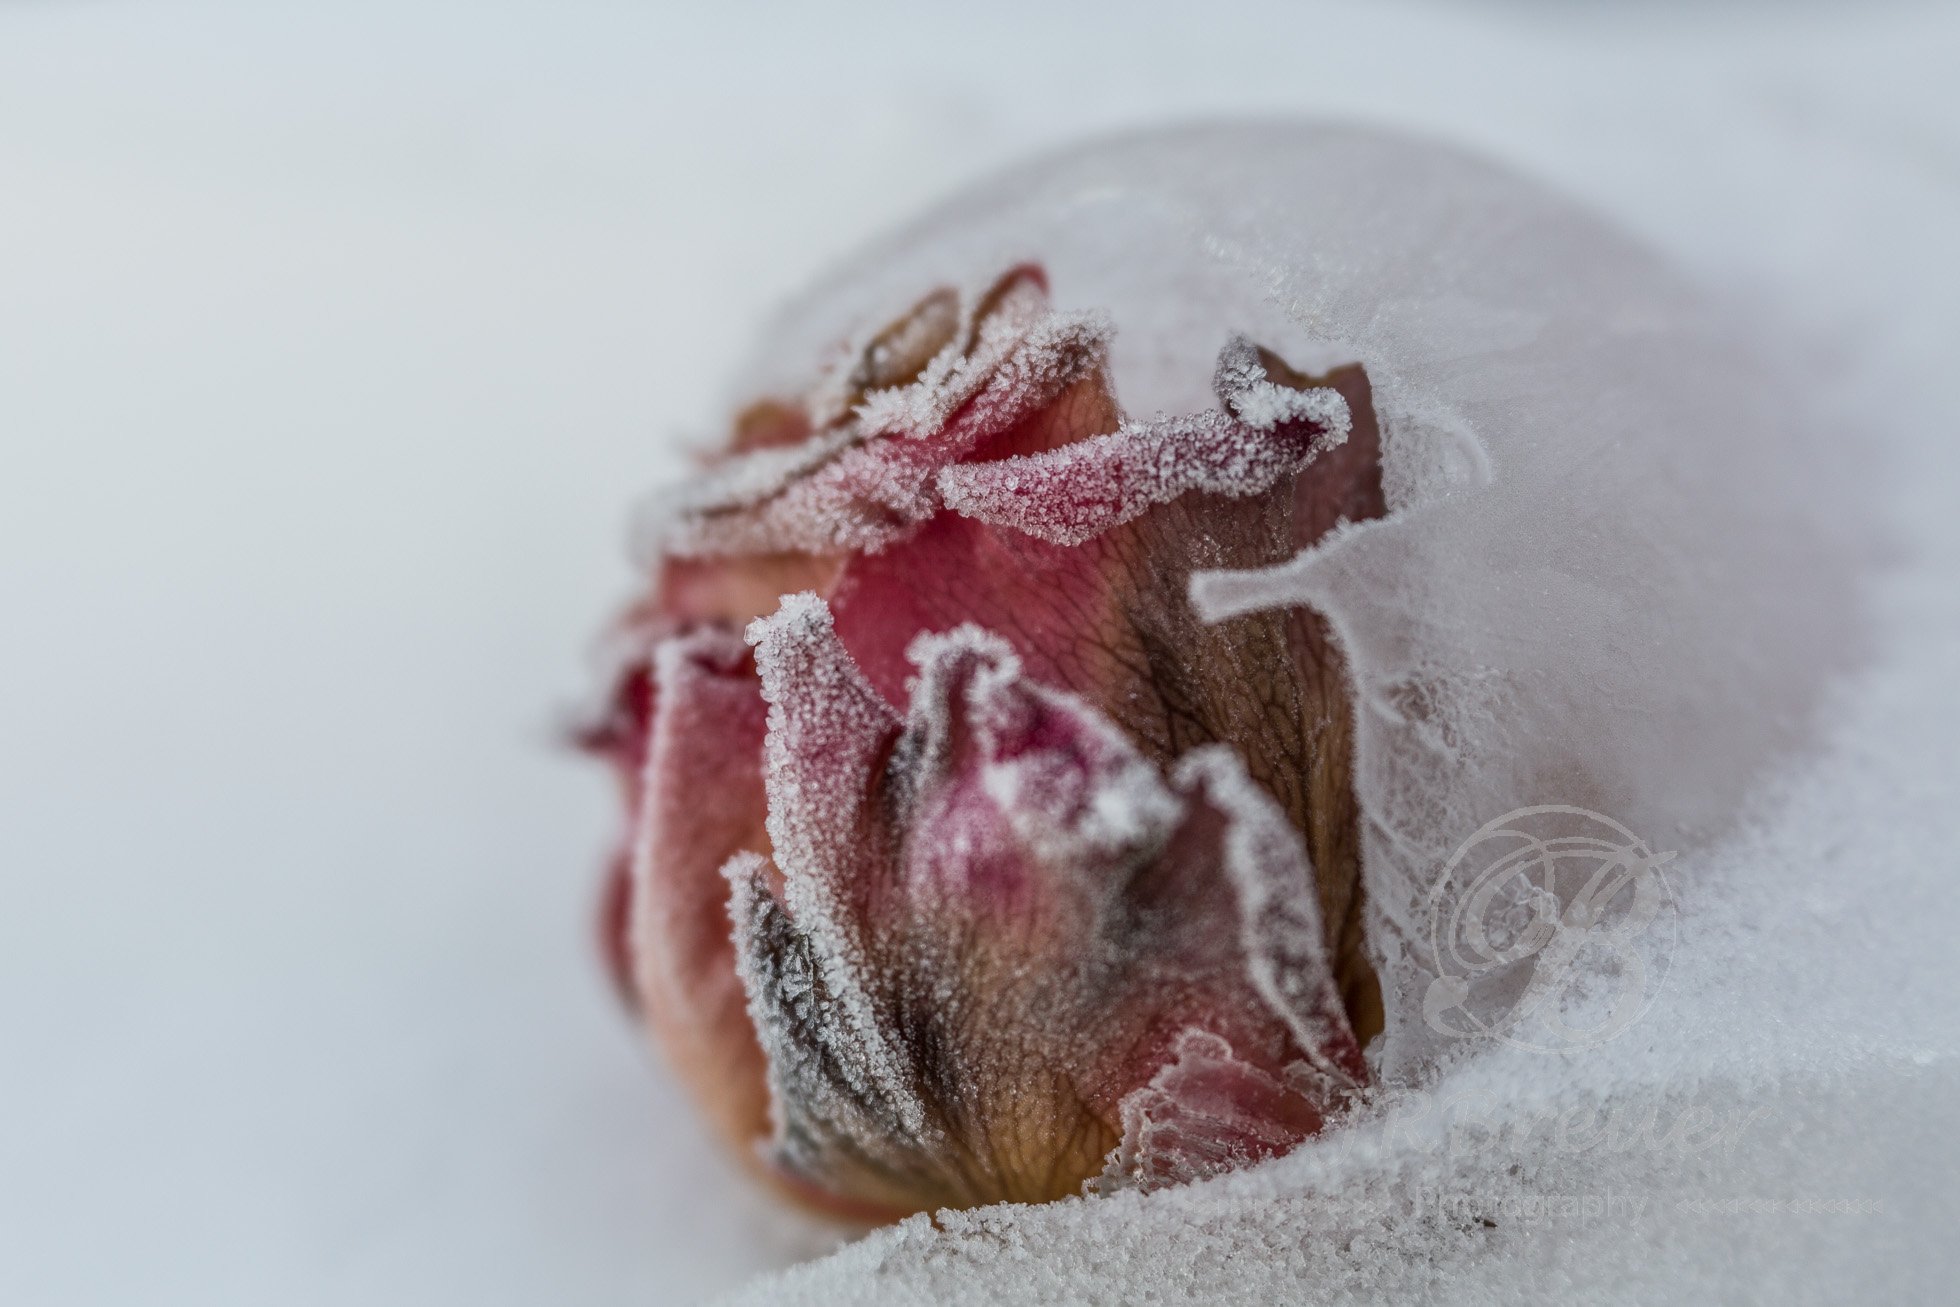
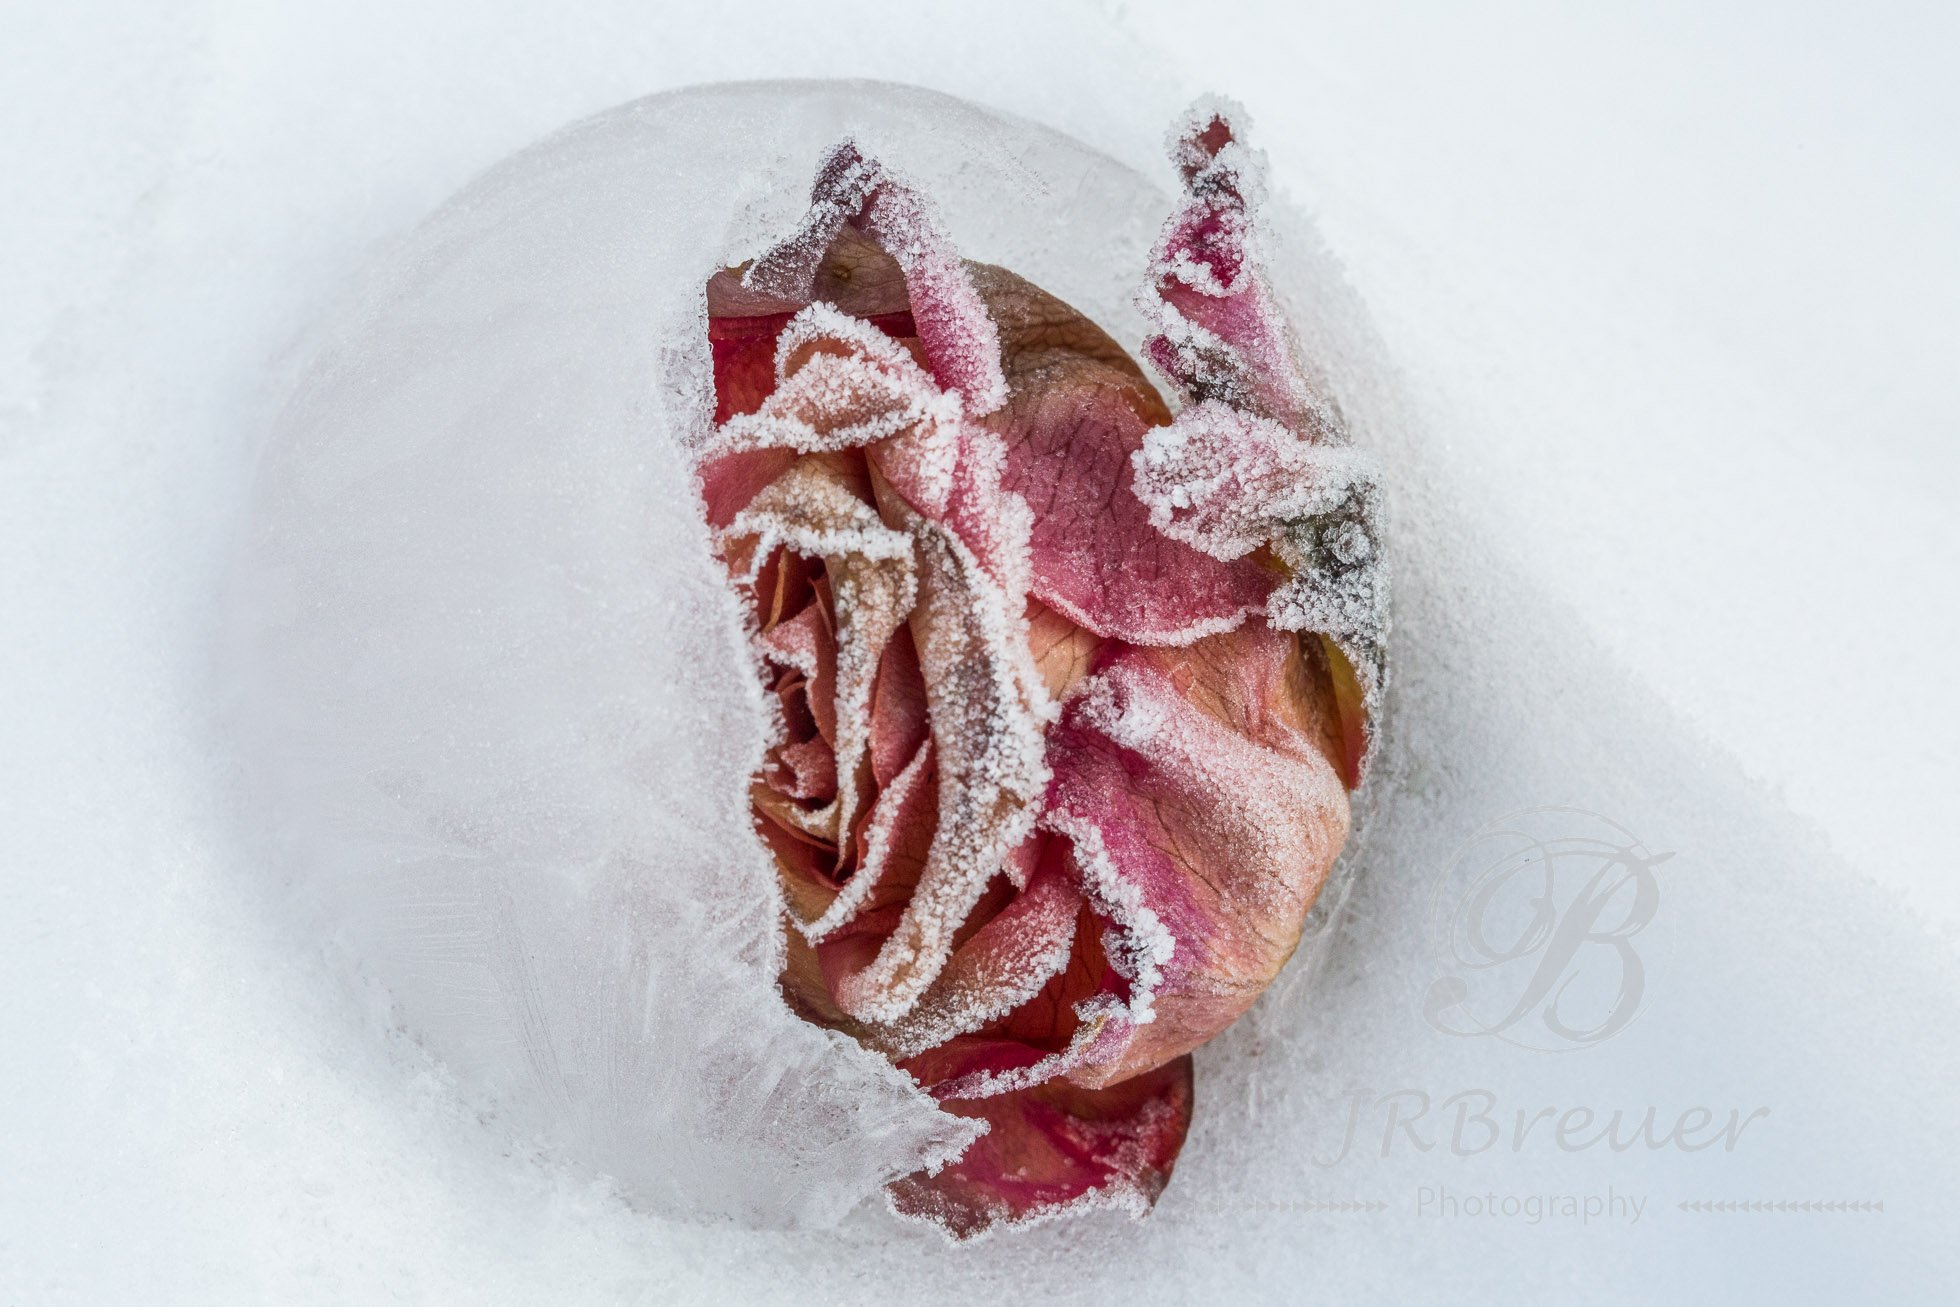
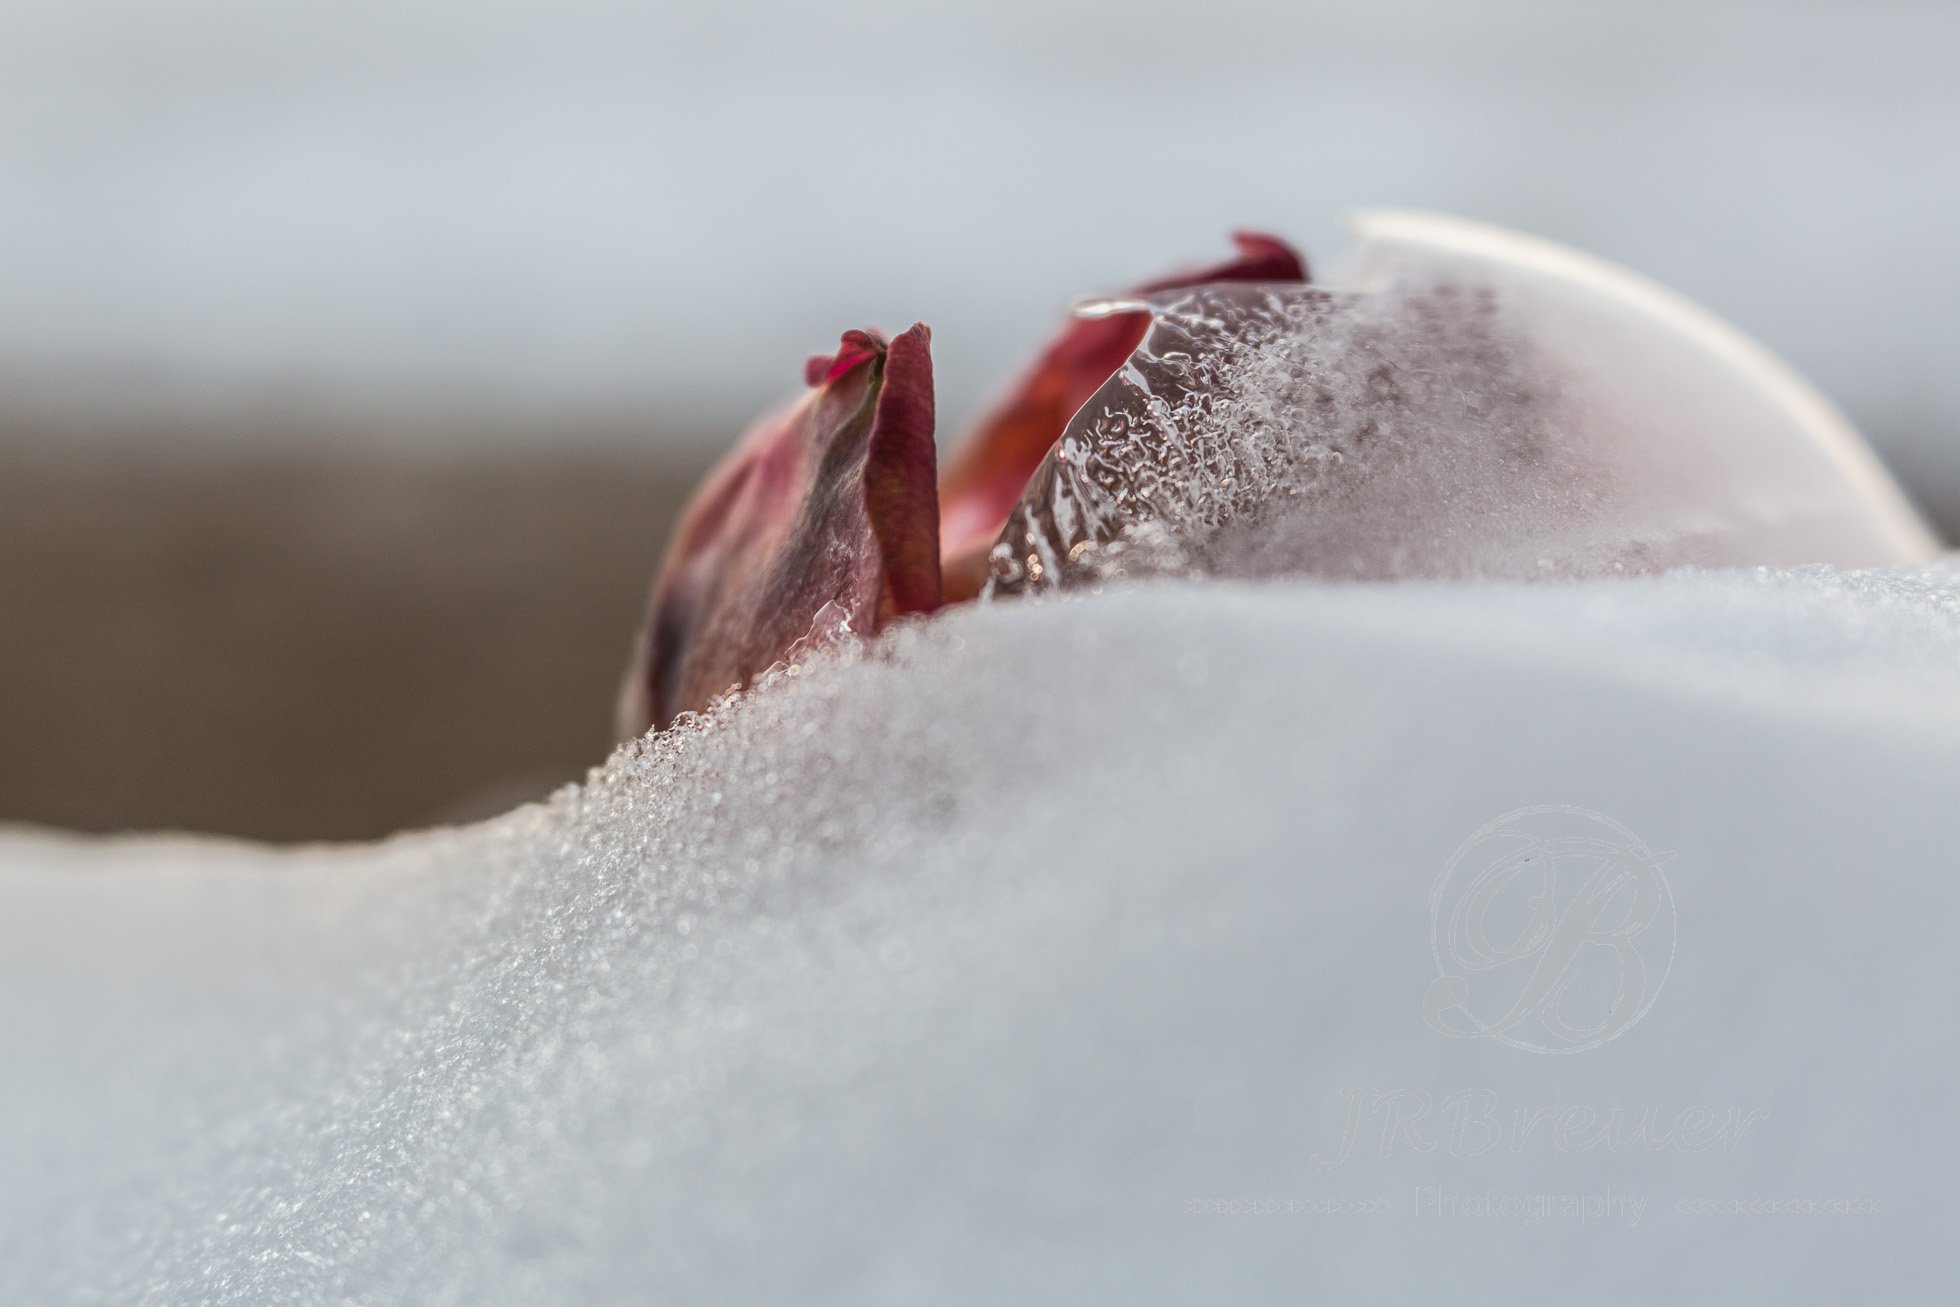
Play around and see what works for you! My absolute favorite photograph came from leaving a rose outside. First it thawed a bit as the day warmed up.
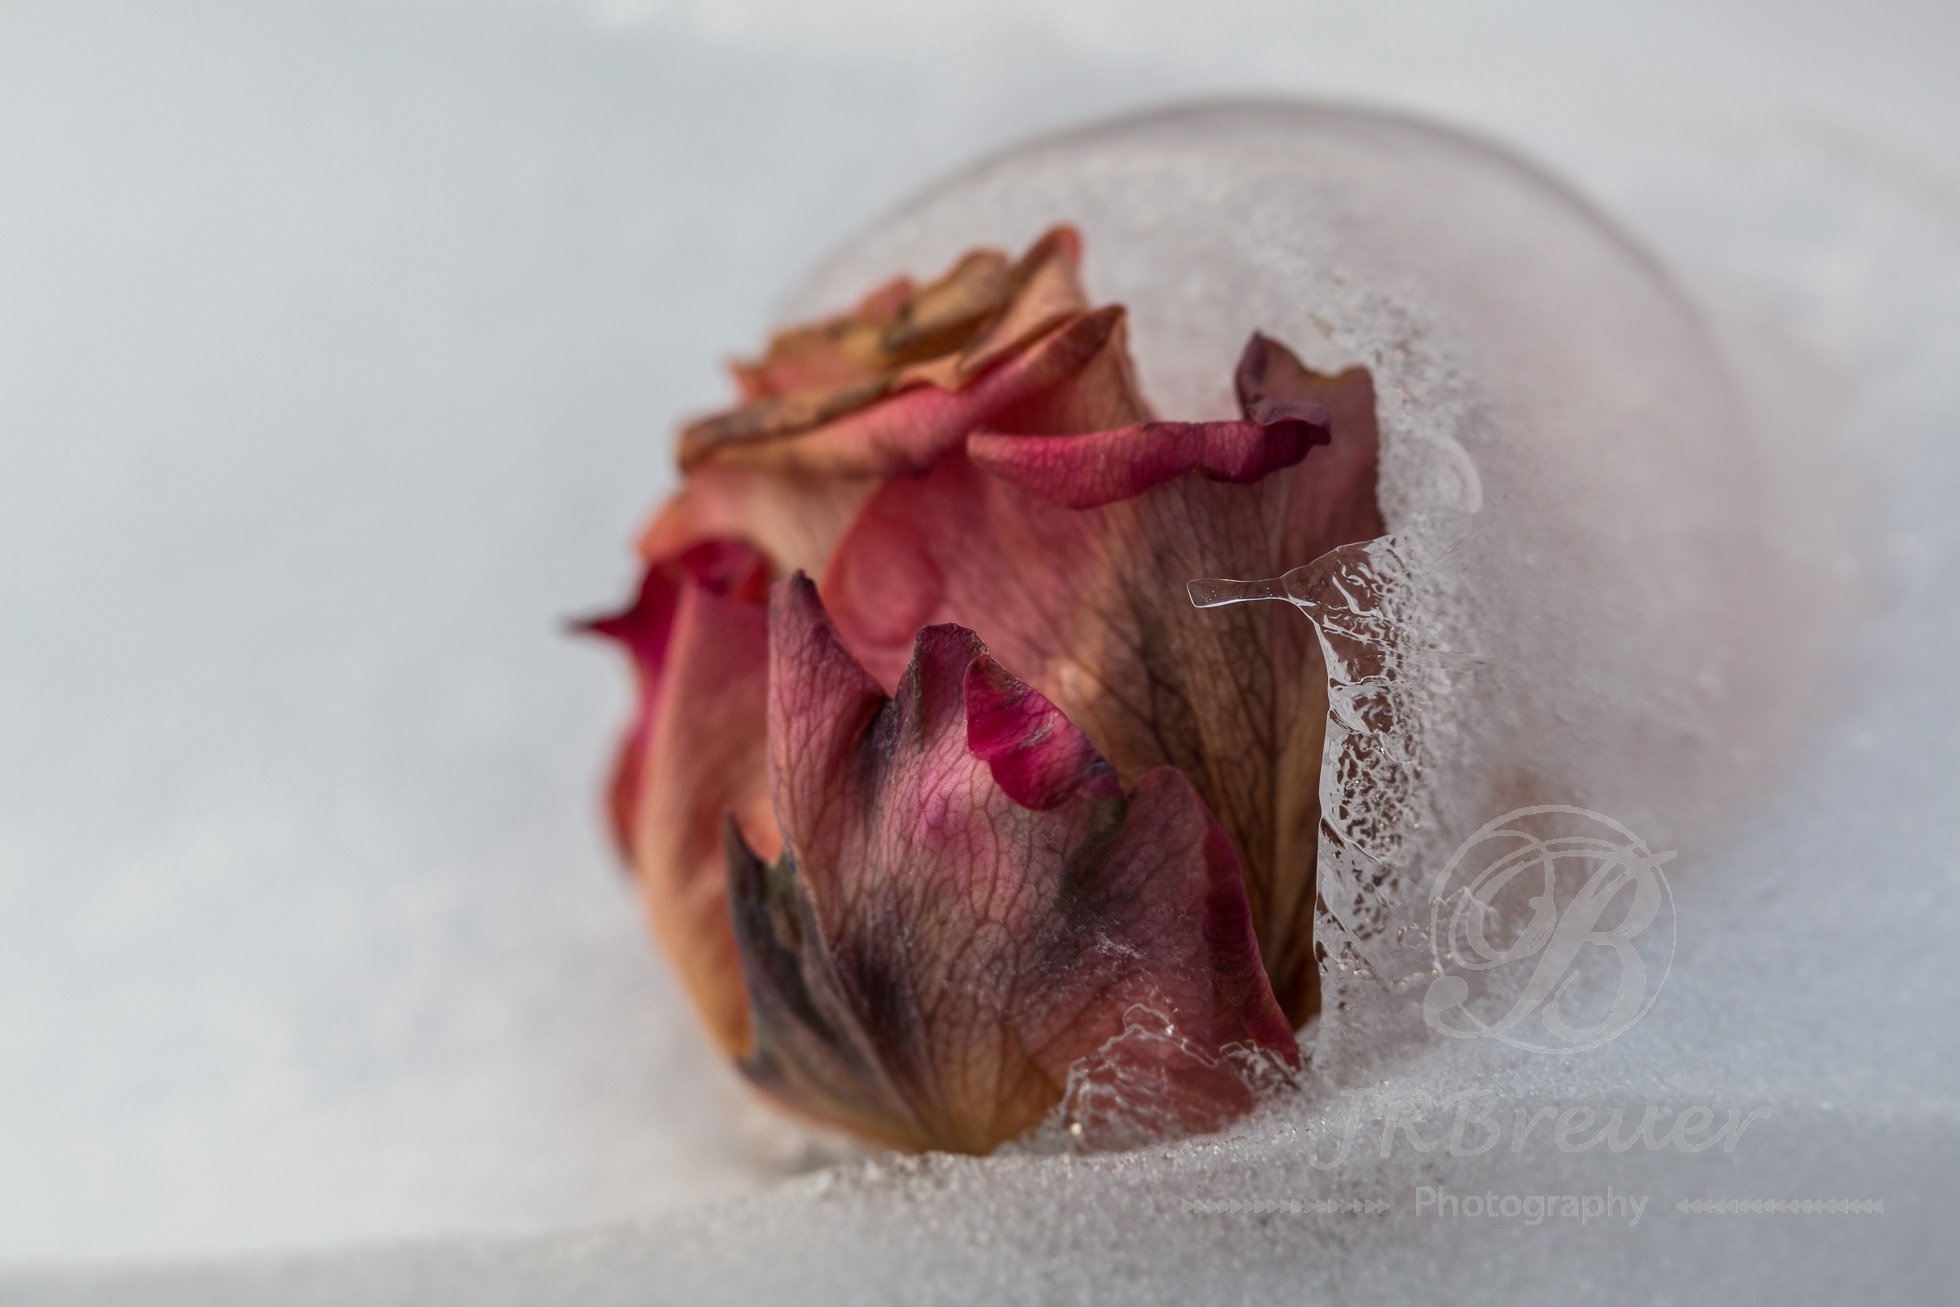
Then I left it out overnight thinking it was pretty much done for and it frosted over. The next morning it was SO pretty! I got this beautiful sugary rose!
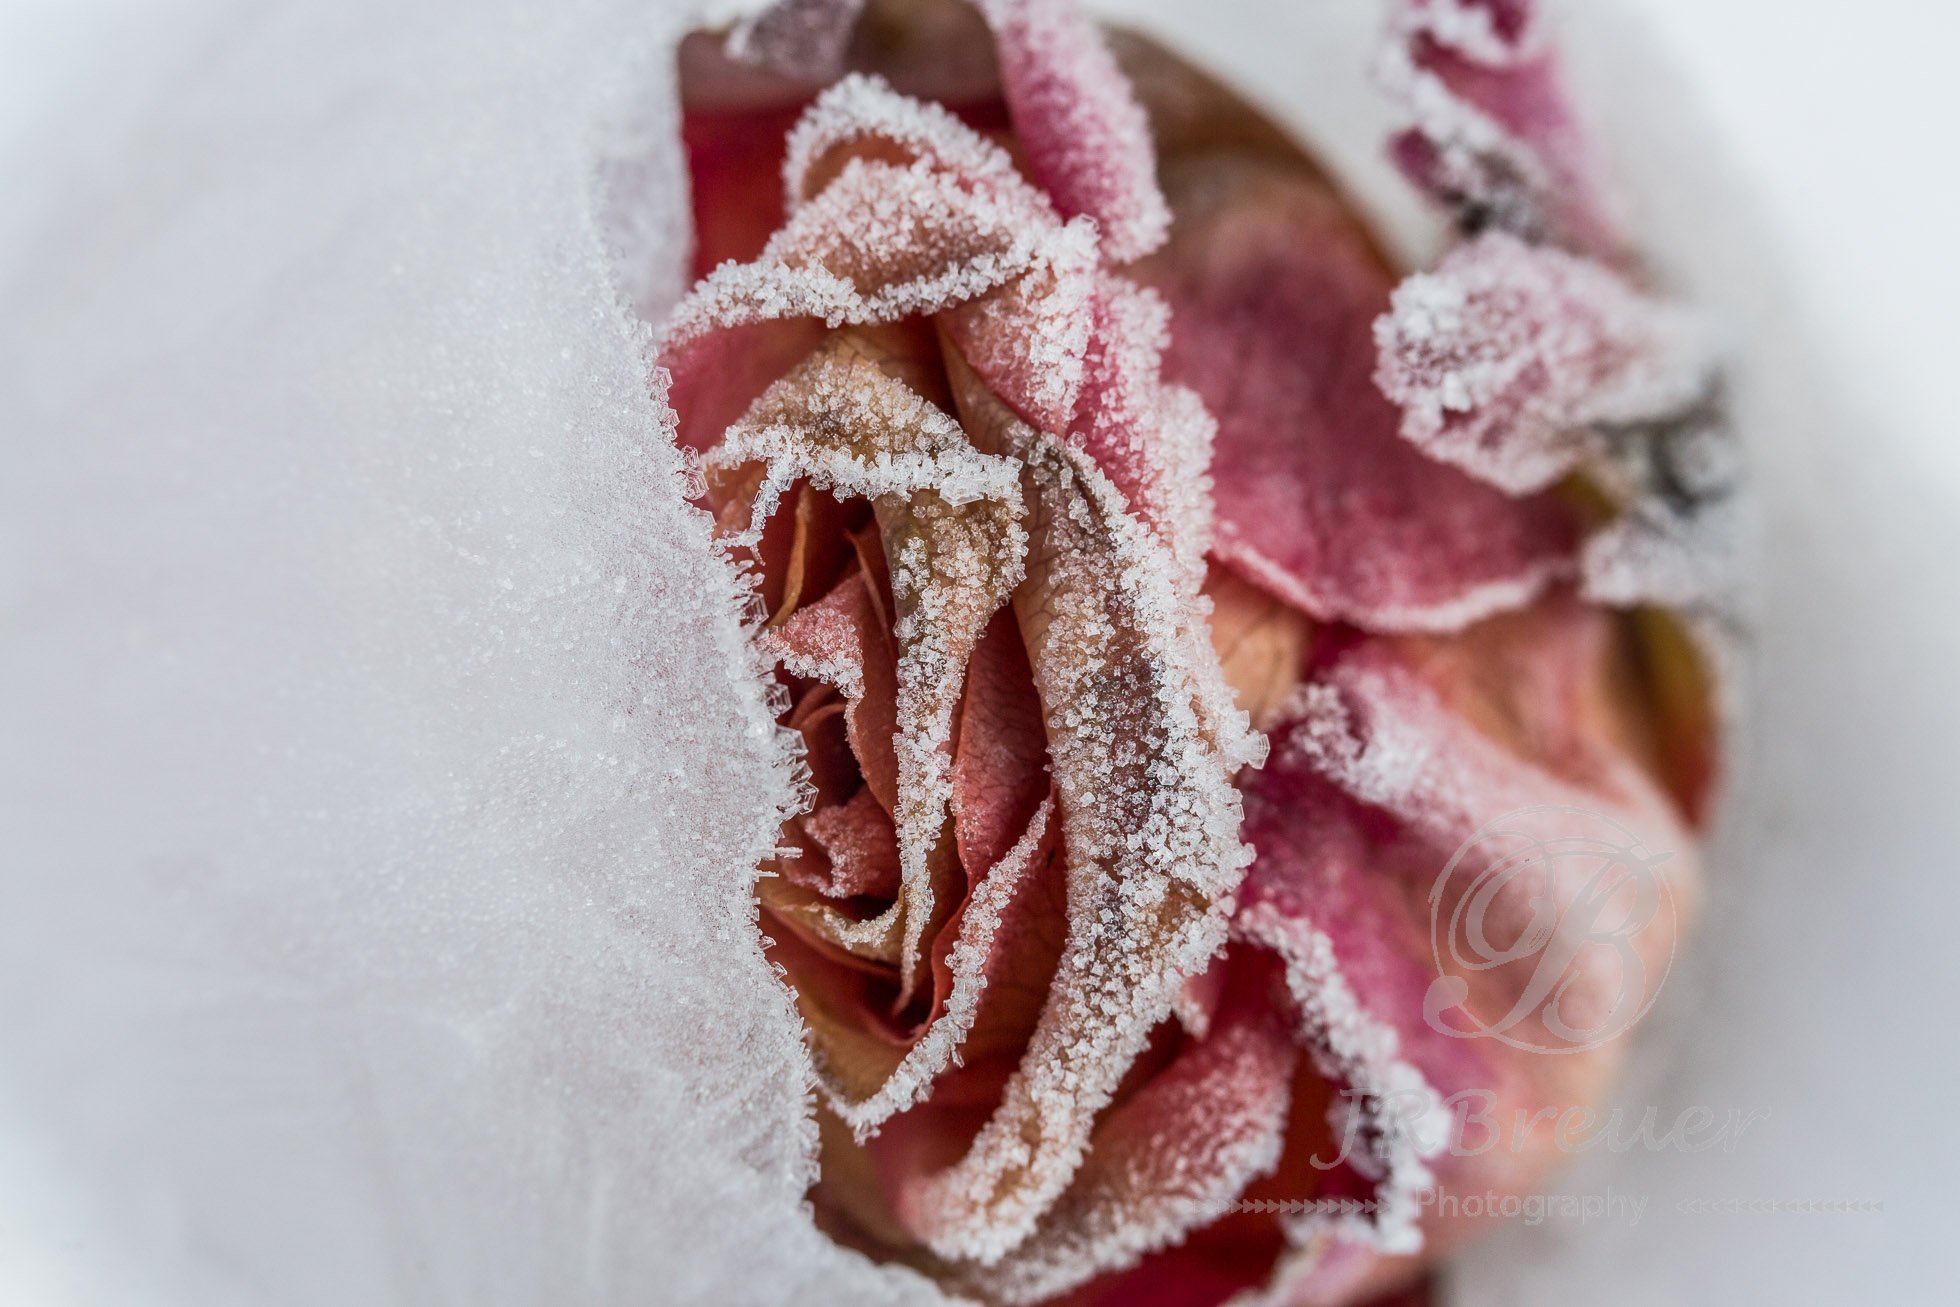
My favorite image thus far.
I hope you have fun playing! Let me know in the comments if you try it out and what your results are! Do you have any creative tips to share?